The Best Supermarkets in the Netherlands: Budget vs Quality Guide
Mastering the Art of "Boodschappen Doen" Moving to a new country involves relearning the simplest tasks, and for many expats in the Netherlands, the...
Read more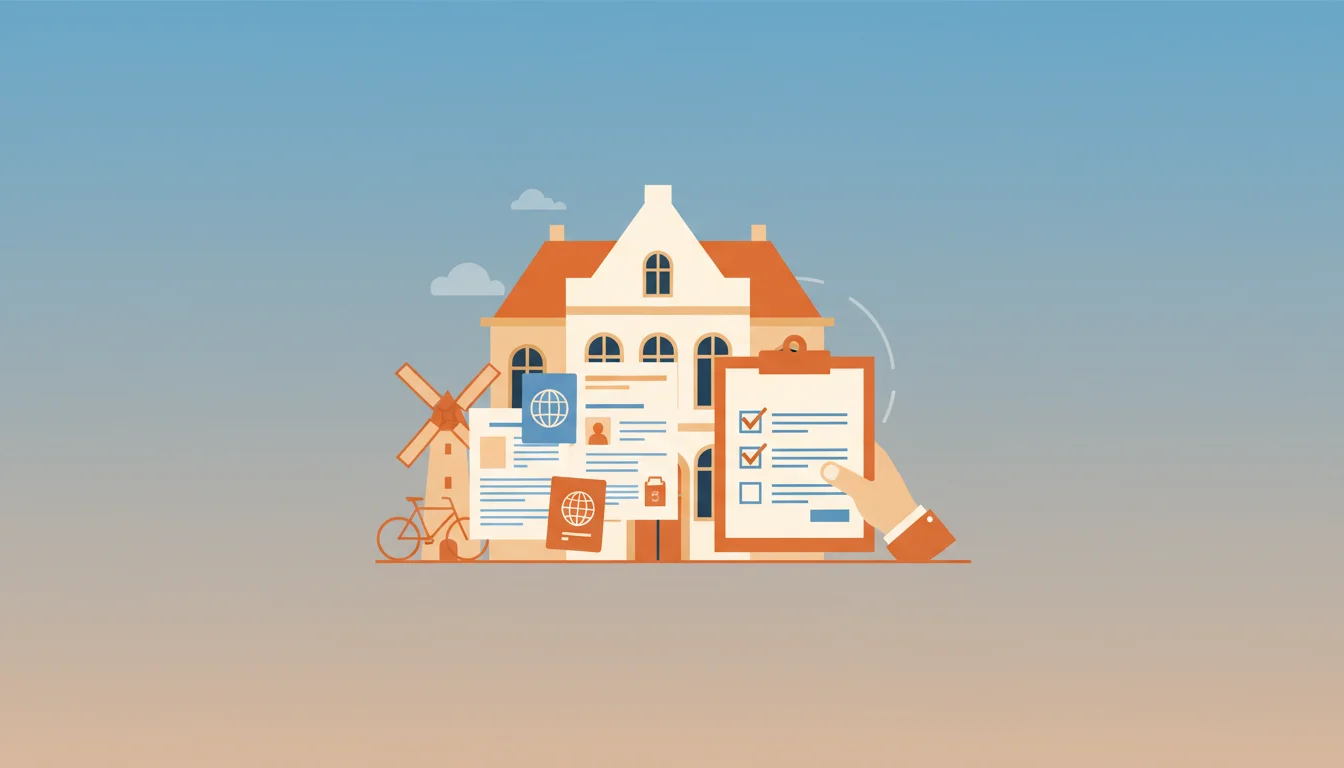
Welcome to the Netherlands! You’ve unpacked your boxes, tasted your first stroopwafel, and maybe even hopped on a bike. Now comes the inevitable rite of passage for every new expat: registering at the municipality (de gemeente).
While Dutch bureaucracy is generally efficient, the registration process is the critical first step to unlocking your new life here. Without it, you cannot get your BSN (Burgerservicenummer), open a bank account, take out health insurance, or get a mobile phone subscription. This is often a prerequisite if you want to enroll in a Dutch university as an expat or start a new job.
Feeling overwhelmed? Don’t worry. This guide will walk you through exactly what documents you need, common pitfalls to avoid, and how to prepare for your appointment.
When you register at the town hall, you are being entered into the BRP (Basisregistratie Personen or Personal Records Database). The Dutch government needs to know who lives where. According to the law, if you plan to stay in the Netherlands for more than 4 months, you must register within 5 days of your arrival.
Note: If you are staying for less than 4 months, you register as a non-resident (RNI), which is a different process.
The most common reason for a rejected registration is missing or incorrect paperwork. Dutch officials strictly follow the rules, so “close enough” usually doesn’t count. Here is what you need to bring to your appointment.
You must bring a valid passport or a national identity card (for EU/EEA citizens). A driver’s license is not accepted as valid identification for initial registration.
You need to prove you have a place to live. This is often the trickiest part for new arrivals who are still house hunting. You generally need one of the following:
This is where many expats get stuck. You need your original birth certificate. However, depending on where you are from, it might need to meet specific criteria:
If you are from outside the EU/EEA, you usually need to have your residence permit approval (or the sticker in your passport) from the IND (Immigration and Naturalisation Service). In some cities, you can combine your IND and municipality appointments.
If you want your civil status recorded correctly (which is important for taxes and fiscal partners), bring your marriage certificate. Like the birth certificate, this may need an apostille and translation.
You cannot just walk in; you must make an appointment online via your municipality’s website (e.g., Gemeente Amsterdam, Gemeente Den Haag). Slots can fill up fast, especially in August and September when students arrive. Book your slot as soon as you have a confirmed address.
Most municipal officials (ambtenaren) speak excellent English. However, navigating the appointment is a great opportunity to practice a little Dutch. It shows goodwill and helps you integrate faster.
You don’t need to be fluent, but understanding basic questions like “Heeft u een legitimatiebewijs?” (Do you have ID?) can make the process smoother. This is where StroopTaal comes in handy. Our app features interactive dialogue games specifically designed for practical scenarios like this.
Before your appointment, you can use StroopTaal’s roleplay feature to simulate a conversation at a government desk. You’ll get instant feedback on your pronunciation, ensuring you can confidently say, “Ik heb een afspraak om tien uur” (I have an appointment at 10 o'clock). Learning how to tell time in Dutch is particularly useful for these types of appointments.
Once your documents are approved, you are officially a resident! Here is what happens next:
Dealing with the Gemeente is your first big win as an expat. Once the paperwork is done, you can focus on the fun part: living here! To truly feel at home, learning the language is key. Whether you are aiming for the Inburgering exam or just want to chat with your neighbors, consistent practice is essential.
StroopTaal makes this easy with AI-powered personalized learning plans that adapt to your level, from A0 to C1. Instead of dry memorization, you learn through cultural context and real-life conversations.
Ready to master Dutch bureaucracy and the language? Download StroopTaal today and start your streak!
Share this article:
Mastering the Art of "Boodschappen Doen" Moving to a new country involves relearning the simplest tasks, and for many expats in the Netherlands, the...
Read moreDemystifying the Blue Envelope If you have lived in the Netherlands for more than a few weeks, you likely recognize the iconic blauwe brief (blue...
Read moreIs it Me, or Was That Rude? Picture this: You have just moved to Amsterdam. You spent twenty minutes styling your hair this morning. You walk into...
Read more