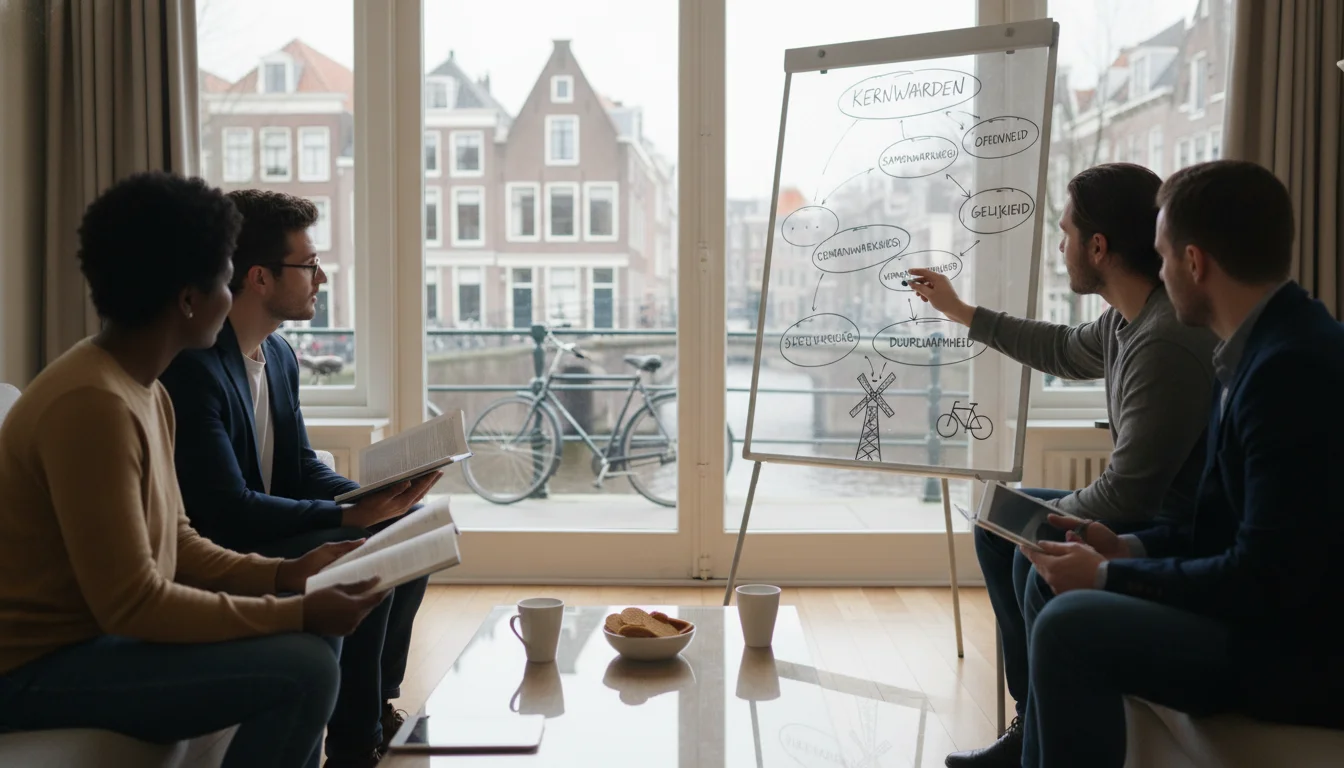
Understanding the Dutch Value System: Key Concepts for KNM
Introduction: Why Dutch Values Matter for Your Integration Moving to the Netherlands is an exciting adventure filled with cycling along historic...
Read more
This article was drafted by AI and edited by a person before it was published.
AI can get things wrong. For anything official, check the source it points to.
AI-generated image
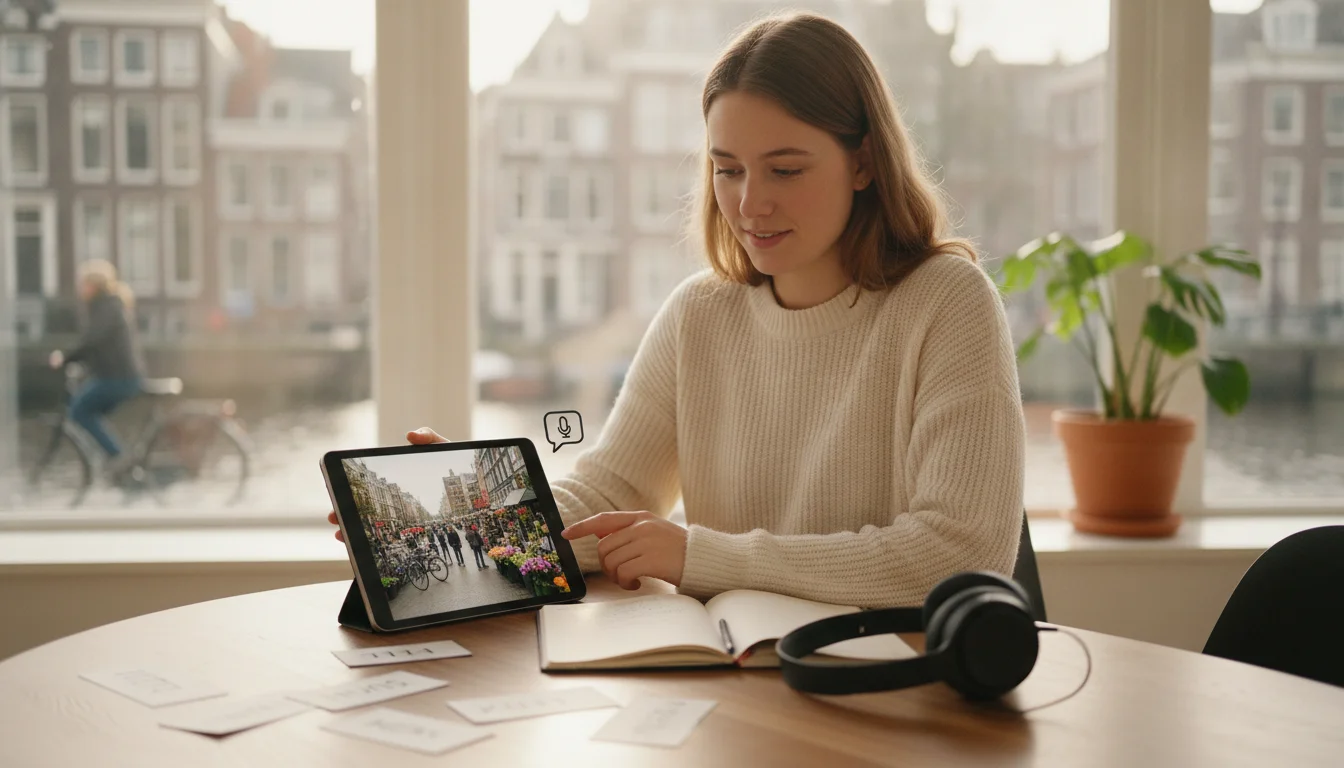
Preparing for the Dutch integration exam (Inburgeringsexamen) can feel like navigating a maze of bureaucratic rules and linguistic hurdles. Among the various exam components, the Spreken (Speaking) exam often induces the most anxiety. Unlike a natural, fluid conversation with a friendly local, this computer-administered exam requires you to speak into a microphone, responding to digital prompts, short video clips, and static images. One of the most critical elements of this test is the picture description and situational response task.
If the thought of describing a picture of a broken bicycle or a doctor\'s visit in Dutch makes your heart race, you are not alone. However, once you understand the underlying structure of these tasks, the grading criteria, and the exact language patterns the examiners are looking for, this daunting section becomes highly manageable. In this comprehensive guide, we will deconstruct what to expect during the Inburgering Speaking Exam\'s picture description task, provide actionable strategies, and show you how to build the confidence needed to pass with flying colors.
The Inburgering Speaking Exam tests your ability to function in daily Dutch life. Currently set at the A2 level (with plans to transition to B1 for certain pathways, as outlined by the Dutch Government), the exam ensures you can handle everyday interactions like grocery shopping, visiting the doctor, talking to colleagues, or resolving minor conflicts. You can learn more about registration, fees, and official regulations directly on the official integration portal, Inburgeren.nl.
During the exam, you sit in a cubicle with a computer, a screen, and a headset with a microphone. The exam consists of two main types of questions:
If you are aiming to progress beyond this baseline, understanding the jump from essential Dutch grammar rules will help you transition from simple phrases to complex, natural structures that impress examiners.
In the open speaking section, you will be presented with a visual scenario. This could be a static image (e.g., a photo of a messy kitchen, a broken window, or a crowded train platform) or a brief, silent video clip depicting a common everyday situation. Along with the image, you will hear and read a prompt that sets the context.
Typically, the prompt asks you to do one of the following:
For example, you might see a picture of a flat tire on a bicycle. The voice prompt might say: "Je fietst naar je werk en je krijgt een lekke band. Wat doe je?" (You are cycling to work and you get a flat tire. What do you do?). You then have a few seconds to prepare before the recording starts, and you must speak clearly into your microphone to provide your answer.
To pass this task, you do not need to speak perfect, accent-free Dutch. The examiners are looking for functional communication. Specifically, they assess you on three main pillars:
Did you actually understand what was happening in the picture and what the prompt asked? If the picture shows a broken window and you start talking about buying groceries, you will lose points. Your response must directly address the visual scenario and the question asked.
Your sentences should be grammatically coherent. While minor mistakes are tolerated at the A2 level, you must demonstrate a basic grasp of Dutch word order. In particular, you need to know how to structure your main clauses and subordinate clauses. Because many prompts ask you to react or ask questions, mastering the art of forming questions using inversion is highly critical for this part of the exam.
You need a functional vocabulary to describe everyday objects, emotions, and actions. Instead of using generic words like "ding" (thing) or "goed" (good), you can elevate your score by expanding your vocabulary with descriptive Dutch adjectives. Your pronunciation must be clear enough that a native Dutch speaker can understand your words without excessive effort.
When the visual prompt appears on the screen, follow this structured four-step approach to ensure a calm, correct, and complete response:
As soon as the picture or video appears, ask yourself the three "W" questions:
One of the biggest mistakes candidates make is trying to tell a complex, dramatic story. The examiners do not care about your creative writing skills; they care about your functional language. Keep your sentences short and clear. Use the Subject-Verb-Object (SVO) structure where possible to minimize grammatical errors. Two or three simple, correct sentences are infinitely better than one long, convoluted sentence filled with mistakes.
Having a mental toolkit of standard phrases can save you precious seconds of thinking time during the exam. Memorize these versatile templates:
You typically have 20 to 30 seconds to record your answer. This is longer than you think! Do not rush. Take a deep breath, speak at a steady, moderate pace, and stop speaking once you have fully answered the prompt. You do not need to fill the entire recording time with nervous rambling.
To give you a clear picture of what to expect, let\'s look at two realistic exam scenarios, along with poor and excellent sample responses.
Visual: A photo of a woman looking at her watch on a crowded, delayed train. The digital board in the background shows "Vertraging" (Delay).
Prompt: "Je trein heeft vertraging en je komt te laat op je werk. Je belt je baas. Wat zeg je?" (Your train is delayed and you are coming late to work. You call your boss. What do you say?)
Visual: An illustration of a person trying to sleep while music notes drift through the wall from the apartment next door.
Prompt: "De buren maken veel lawaai en je kunt niet slapen. Wat doe je?" (The neighbors are making a lot of noise and you cannot sleep. What do you do?)
Awareness of common traps can prevent you from making easily avoidable mistakes on exam day:
Mastering the picture description task requires active, spoken practice—something that traditional textbooks simply cannot provide. This is where the StroopTaal app becomes your ultimate study companion. Designed with advanced AI, StroopTaal offers a dedicated environment to practice for your integration exams.
With StroopTaal, you can practice real-life Dutch conversations with AI and practice the speaking part of the Inburgering exam on its own, with a timer. The pronunciation training in the app gives you a score and tells you what to improve, so you can work on speaking clearly for the exam. Additionally, interactive dialogue games put you in practical, everyday scenarios—like visiting the doctor or resolving neighbor disputes—helping you build a library of natural, automatic responses.
The Inburgering Speaking Exam\'s picture description task is not designed to trick you. It is a highly structured test of your ability to handle basic, everyday Dutch situations. By breaking down the visual prompts, keeping your grammar simple, practicing key question structures, and expanding your descriptive vocabulary, you can walk into the exam room with absolute confidence.
Don\'t leave your integration success to chance. Start practicing your speaking, pronunciation, and vocabulary today. Download the StroopTaal app and take the first step toward masterfully passing your Dutch exams and feeling truly at home in the Netherlands!
Share this article:
Introduction: Why Dutch Values Matter for Your Integration Moving to the Netherlands is an exciting adventure filled with cycling along historic...
Read moreThe Inburgering Journey: From Overwhelmed to On Track Embarking on the Dutch civic integration process, or inburgering, can feel like standing at the...
Read moreNavigating the Maze: Your 2026 Guide to Dutch Civic Integration Moving to the Netherlands is an exciting adventure, filled with stroopwafels,...
Read more